A $3,000 microphone in an untreated room sounds worse than a $200 microphone in a properly treated space. I've heard this proven hundreds of times over twenty years, and yet voice over artists keep buying expensive mics hoping to fix problems that live in their walls, not their signal chain.
The room is the first link in your audio chain. Everything that happens after — preamp, converter, processing — inherits whatever the room adds to the signal. And untreated rooms add a lot.
Your microphone hears the room, not just your voice
When you speak into a microphone, the capsule captures two things: the direct sound from your mouth and the reflected sound bouncing off every surface around you. In an untreated space, those reflections arrive milliseconds after the direct signal, creating comb filtering, flutter echo, and that hollow, amateur quality clients recognize instantly.
According to a 2019 study from the Audio Engineering Society, room reflections can account for up to 70% of what a microphone captures in untreated domestic spaces. Your $1,500 Neumann is faithfully recording your bathroom echo with exceptional clarity.
A better microphone makes this problem worse, not better. Higher sensitivity capsules pick up more room sound. More accurate frequency response means more accurate reproduction of your room's flaws.
What treatment actually does
Acoustic treatment absorbs or diffuses sound energy before it reflects back to the microphone. Bass traps handle low frequencies that build up in corners. Broadband absorbers catch mid and high frequencies. Diffusers scatter reflections so they don't arrive as coherent echoes.
The goal is reducing the reverb time — technically called RT60 — to something appropriate for voice over. Most professional voice over booths target an RT60 under 0.3 seconds. The average untreated bedroom sits around 0.8 to 1.2 seconds. That difference is audible in every single recording.
Have you ever recorded in a professional studio and wondered why your voice suddenly sounded better, richer, more present? The microphone was probably comparable to what you have at home. The room was the difference.
The math nobody wants to hear
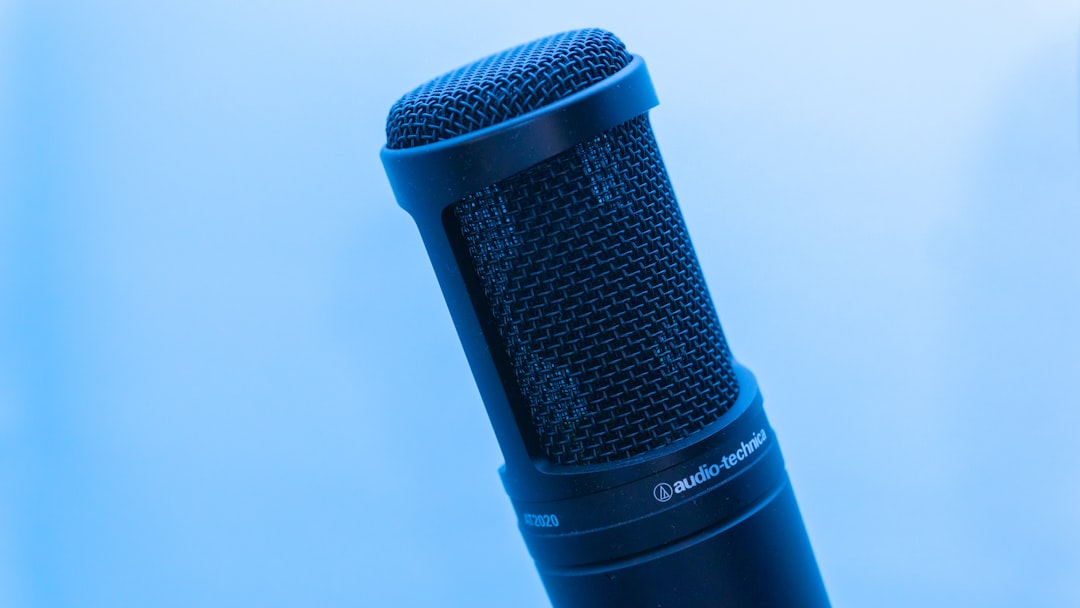
Here's the reality. Proper acoustic treatment for a small voice over space costs between $500 and $2,000 in materials, depending on whether you DIY or buy commercial panels. The same money spent on a microphone upgrade — say, moving from an Audio-Technica AT2020 to a Neumann TLM 103 — will be completely wasted if your room isn't treated.
I started with a $100 microphone. An MXL 990, if you want to know. (The forums said it was trash, but I couldn't afford anything else and work doesn't wait for gear.) That mic recorded spots for major brands because I treated my space first. Rockwool panels in wooden frames. Ugly, effective, cheap.
The upgrade path that actually works looks like this: decent microphone, treated room, then better microphone if you want one. Skip the middle step and you're polishing a signal that's already compromised.
But my closet sounds great
The closet trick works for a reason — clothes are broadband absorbers. Dense fabric stops reflections. This is acoustic treatment, just accidental. But closets have problems: they're usually too small, which causes bass buildup; they get hot; they're uncomfortable for long sessions.
A 2021 survey by Backstage found that 62% of home studio voice over artists reported acoustic issues as their primary technical challenge, ahead of noise, equipment failure, or software problems. Most of them were recording in untreated rooms with expensive microphones.
The closet is a starting point, not a destination. If you're serious about Spanish voice over — or any professional voice work — you need a dedicated space with intentional treatment. And that space will make your $200 microphone sound better than your client's mental image of what professional audio should be.
What to treat first
Corners. Always corners first. Low frequencies accumulate where walls meet walls and where walls meet ceilings. Bass traps in every corner you can access will immediately tighten your low end and reduce that muddy, boomy quality.
After corners, treat the first reflection points — the spots on walls and ceiling where sound bounces directly from your mouth to the microphone. These are usually at ear level on the walls to your left and right, and on the ceiling directly above you.
The back wall matters too. If you're facing a hard surface while recording, those reflections come straight back at the mic. A panel or two behind your monitor handles this.
Front wall treatment — behind the microphone, facing you — is less critical but still useful. Some voice over artists prefer absorption there, others prefer diffusion. Experiment once the basics are covered.
The myth of the perfect microphone
There's a fantasy in voice over forums that the right microphone will transform your recordings. The Neumann U87 will make you sound like the network promos. The Sennheiser MKH 416 will give you that documentary authority. The Sony C-800G will put you in the same league as whoever recorded the last audiobook you loved.
These are excellent microphones. I own some of them. But they sound excellent because they're used in excellent rooms by people who understand that the microphone is the last variable, not the first.
A study by the University of Huddersfield's applied psychoacoustics lab found that listeners rated recordings made with budget microphones in treated spaces higher than recordings made with premium microphones in untreated spaces. The difference wasn't subtle — it was a full point on a five-point scale for perceived professionalism.
Treatment materials that work
Rockwool or Owens Corning 703 rigid fiberglass, 2-4 inches thick, mounted in frames with breathable fabric covers. This is the gold standard for DIY broadband absorption. Dense, fire-resistant, effective across a wide frequency range.
Commercial options like GIK Acoustics or Primacoustic panels work well and look better. They cost more but save construction time. For bass traps specifically, GIK's Soffit Traps and Monster Bass Traps are hard to beat without building floor-to-ceiling corner treatments yourself.
Foam is mostly useless. Acoustic foam panels from Amazon absorb high frequencies only, doing nothing for the low-mid buildup that makes untreated rooms sound hollow. They're better than nothing — barely — but they're not treatment.
Moving blankets hung on mic stands work in emergencies. I've used them on location when the room was hopeless. They're not a permanent solution, but they prove the principle: controlling reflections matters more than microphone choice.
When the room is right, everything else becomes optional
Once your space is properly treated, microphone upgrades become refinements rather than necessities. The difference between a $300 mic and a $3,000 mic in a well-treated room is subtle — a touch more detail, slightly different coloration, maybe a fraction more headroom. These are preferences, not requirements.
I upgraded my microphone collection gradually over years, as work justified the expense. Work buys gear — gear doesn't buy work. The clients who hired me for Coca-Cola and Ford and Google weren't asking what microphone I used. They were asking if my recordings sounded professional. And they did, because the room was right.
The same principle applies to preamps, interfaces, and processing. A Focusrite Scarlett into a treated room beats an Avalon into an untreated one. The room is upstream of everything.
Measurement confirms what ears already know
If you want objective proof, download Room EQ Wizard — it's free — and measure your space. The waterfall plot will show you exactly where reflections are causing problems. The RT60 measurement will tell you how long sound takes to decay. You'll see, in numbers, what your recordings have been telling you all along.
After treatment, measure again. Watch the reverb time drop. Watch the frequency response flatten. Watch your recordings suddenly match what you hear in professional studios.
This isn't esoteric audiophile nonsense. It's physics. Sound bounces off hard surfaces. Soft, dense materials absorb that energy. Control the reflections and you control the quality of the recording.
The professional standard
Every major recording studio prioritizes room treatment. Dubbing stages, ADR facilities, voice over booths at networks and agencies — they all invest heavily in acoustic design before selecting microphones. This is industry consensus backed by decades of practice.
The Spanish voice over market follows the same principles. When I work via Source Connect with clients in LA or Miami or New York, they expect broadcast-quality audio delivered from my studio. That quality comes from treatment first, everything else second.
Room treatment vs microphone upgrade isn't even a fair comparison for professional voice over. Treat your room. Then, if you want, buy the fancy mic. You'll actually hear what it can do.
Need a Spanish voice over for your next project? Get in touch and I'll get back to you within the hour.